Upload escrow material
You can upload the escrow material via SFTP.
Uploading via SFTP requires the installation of an SFTP client and login credentials.
SFTP
To upload via SFTP, you need to have an SFTP client installed on your system and obtain login credentials for our SFTP server.
You can manage your SFTP credentials on the Escrow Portal. Please contact us at helpdesk@escrowsure.co.za if you do not have an account.
For enhanced security, consider using public key authentication. This involves creating an SSH key pair and registering the public key with ESCROWSURE. It is also the preferred authentication method for automated deliveries.
Choose WinSCP or Cyberduck for manual uploads. SCP and Curl are preferred in automation scenarios. Instructions for uploading the escrow material are available for:
WinSCP
WinSCP (Windows Secure Copy) is a free and open-source SFTP, FTP, WebDAV and SCP client for Microsoft Windows. Its main function is secure file transfer between a local and a remote computer. Beyond this, WinSCP offers basic file manager and file synchronization functionality. For secure transfers, it uses Secure Shell (SSH) and supports the SCP protocol in addition to SFTP.
Installation
Download the WinSCP installer from https://winscp.net.
Run and complete the downloaded installer; on the Setup Type screen choose Typical installation.
Upload
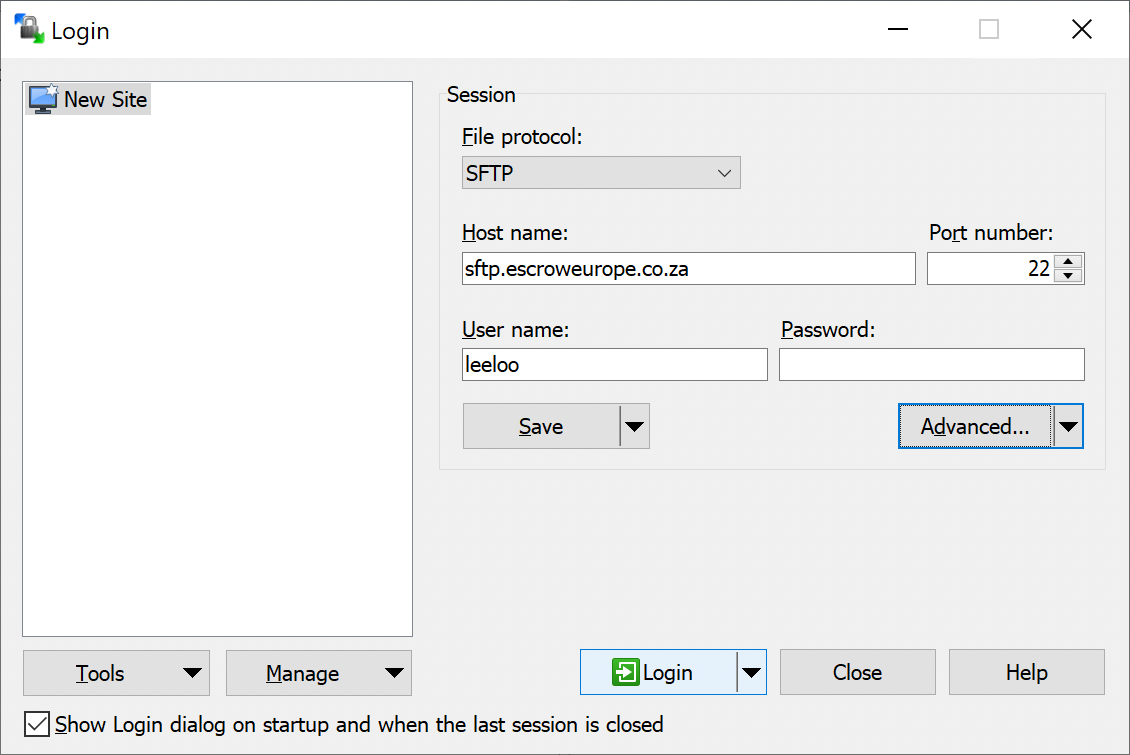
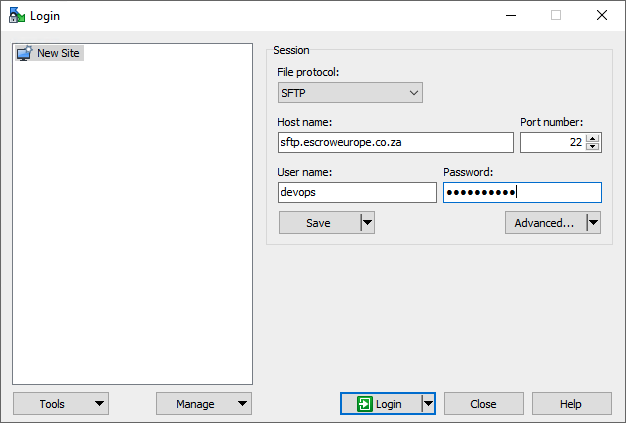
Start WinSCP from the Windows start menu.
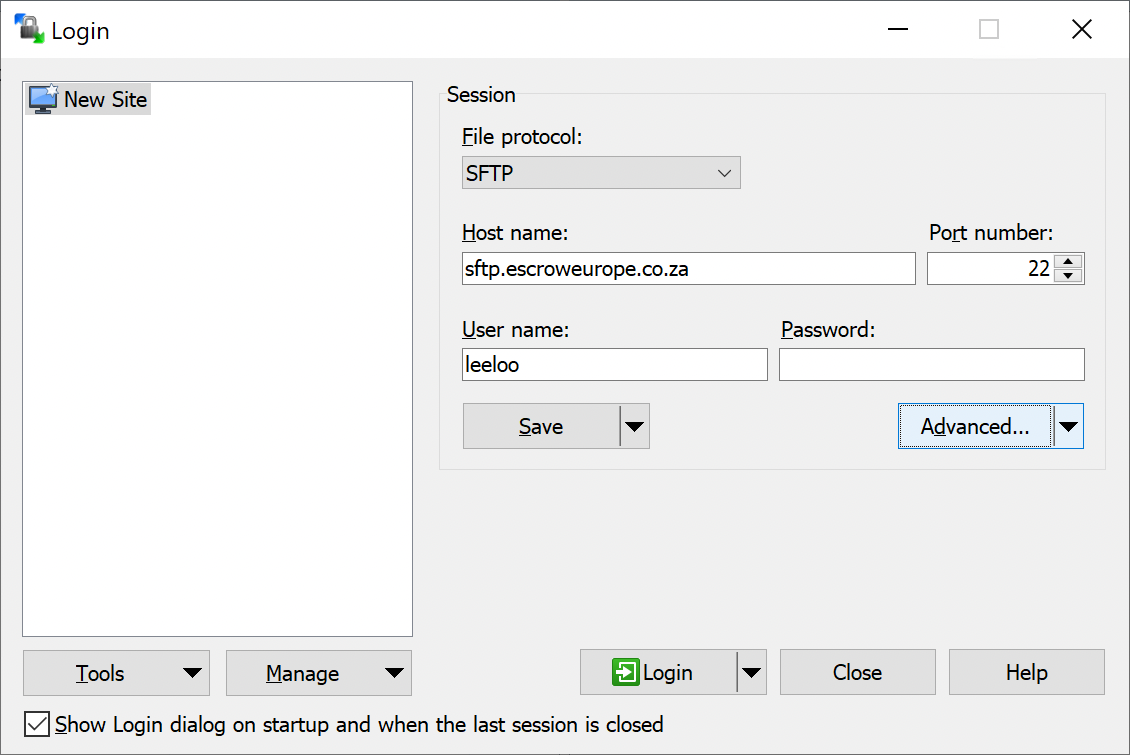
Click on New Site.
In the File protocol field choose SFTP.
In the Host name field enter sftp.escrowsure.co.za.
In the User name field enter your SFTP username.
In the Password field enter your SFTP password.
Click on Login.
Click on Yes to accept the host key for the domain sftp.escrowsure.co.za.

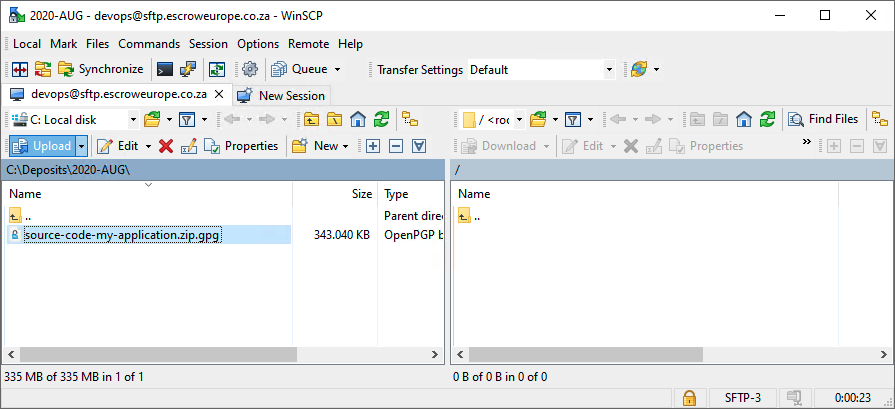
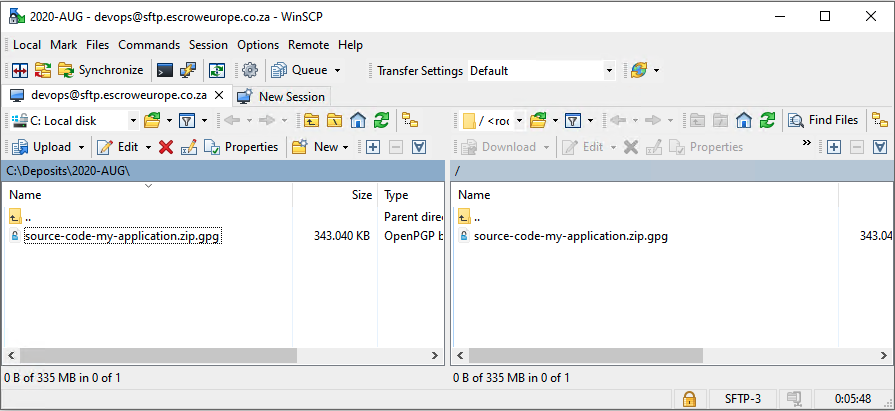
In the left panel browse to the directory location where you prepared the deposit material to be uploaded.
Select the files to transfer and click Upload.
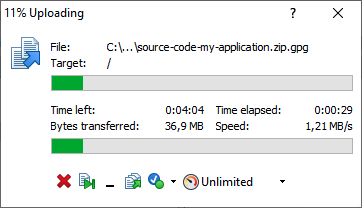
Click on OK to start the file transfer.
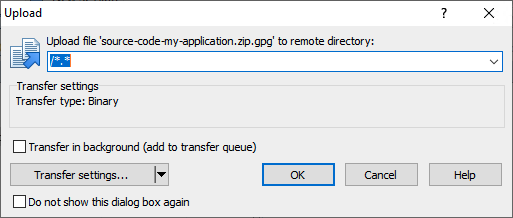
Wait for the file transfer to finish.
Once all uploads have been completed close WinSCP to end the sftp session.
Cyberduck
Cyberduck is a free MacOS and Windows client for FTP, SFTP, WebDAV, Amazon S3, OpenStack Swift, Backblaze B2, Microsoft Azure & OneDrive, Google Drive and Dropbox.
Installation
Download Cyberduck from https://cyberduck.io/.
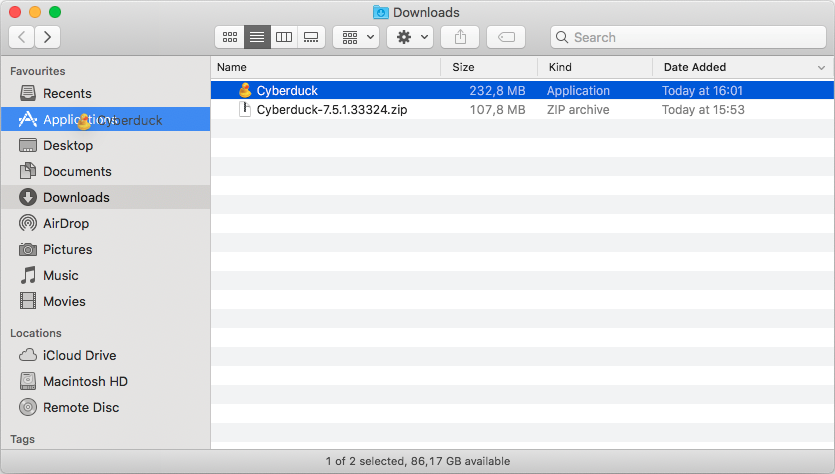
Start the Finder and navigate to Downloads.
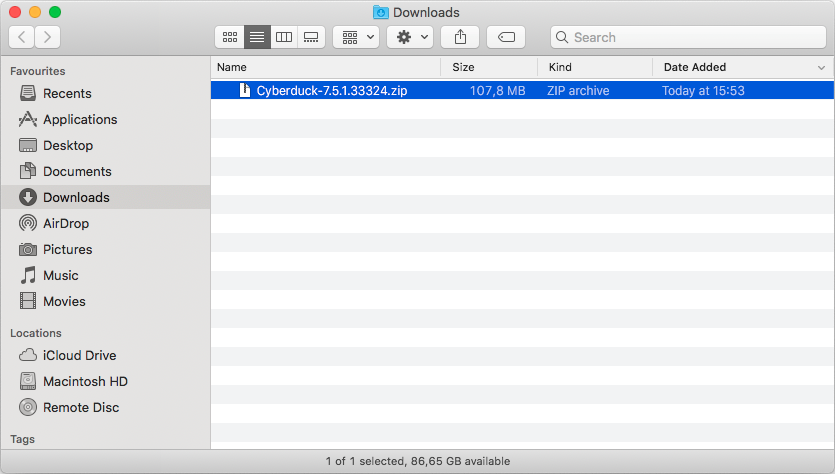
Double-click on Cyberduck-7.5.1.33324.zip to unzip.
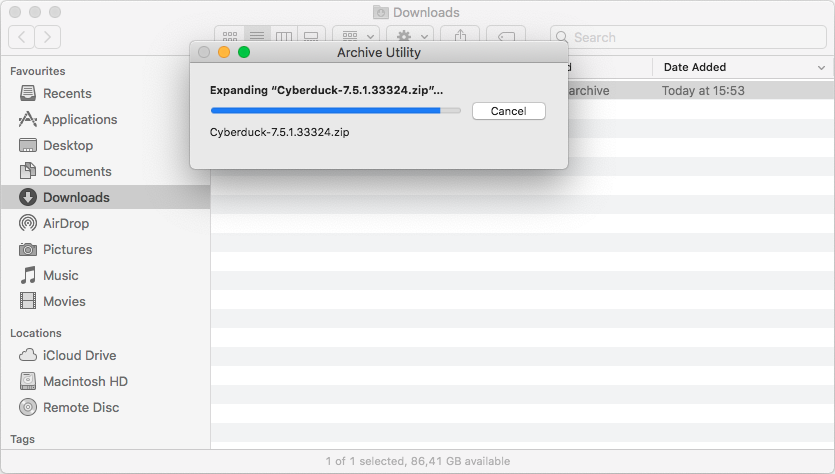
Move Cyberduck to Applications.
Upload
Start Cyberduck from Applications.

Click on Open Connection to start a new session.
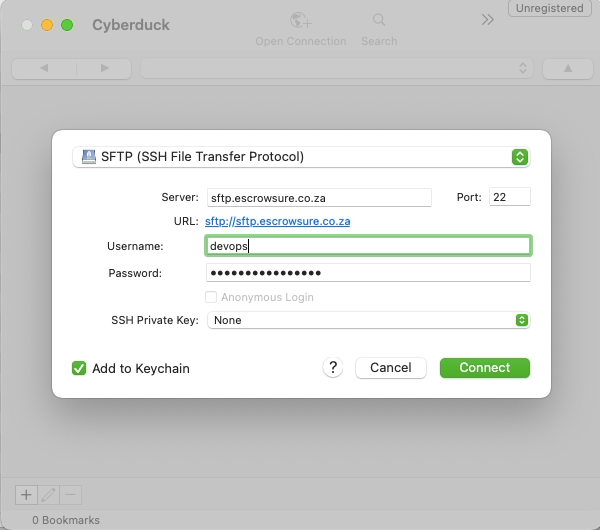
Choose SFTP (SSH File Transfer Protocol).
In the Server field enter sftp.escrowsure.co.za.
In the Username field enter your SFTP username.
In the Password field enter your SFTP password.
Click on Connect.
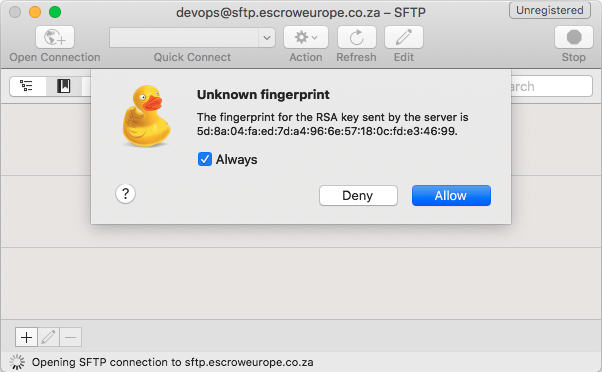
Check Always and click on Allow.
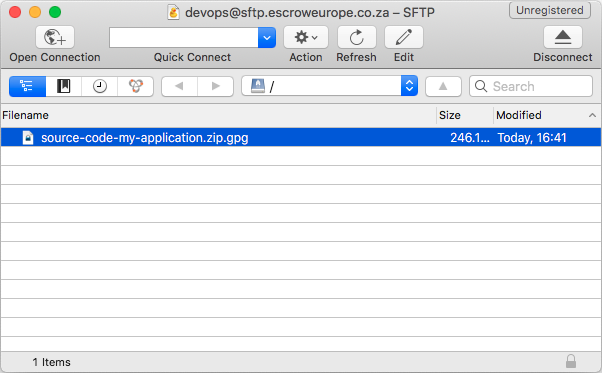
Drag and drop the files to transfer on the Cyberduck window.
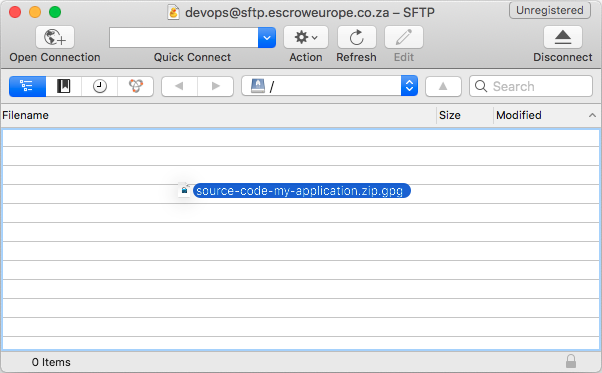
Wait until all file transfers are complete.
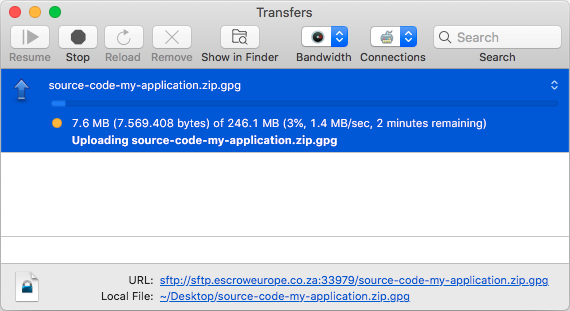
Close the Transfers window.
Click on Disconnect to end the session.
SCP
SCP (Secure Copy) copies files between hosts on a network. Like SFTP it relies on Secure Shell (SSH) for data transfer and authentication. OpenSSH is the open-source version of the Secure Shell (SSH) tools used by administrators of Unix-like systems such as Linux for cross-platform management of remote systems.
Installation
Start the Windows Settings app.
Navigate to Apps > Apps and Features > Manage Optional Features.
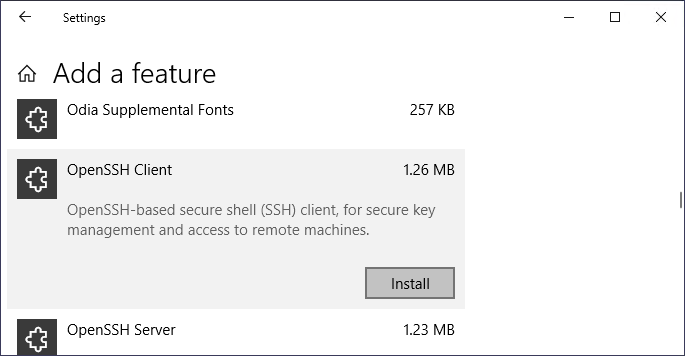
Select Add a feature.
Locate OpenSSH Client.
Click on Install.
Return to Apps > Apps and Features > Manage Optional Features.
The OpenSSH Client should be listed.
Installation is not required, OpenSSH and SCP are core components of Apple MacOS.
Note
Installation is probably not required, OpenSSH client and SCP are core components of most Linux Distributions.
On Debian and Ubuntu execute the following terminal commands to install SCP:
sudo apt-get update
sudo apt-get install openssh-client
Upload
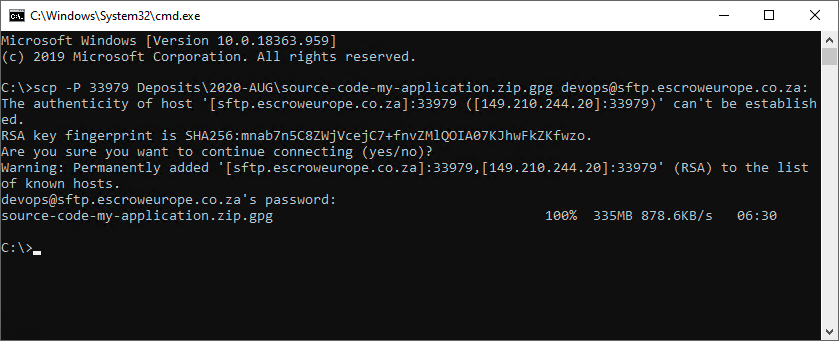
Open a Terminal/Command Prompt.
Enter:
scp {file} {username}@sftp.escrowsure.co.za:
(replace {file} with the file to upload and {username} with the username of your account)
Curl
cURL (pronounced like "curl", /kɜːl/) is a computer software project providing a library (libcurl) and command-line tool (curl) for transferring data using various network protocols. The name stands for "Client URL".
Installation
To install curl on Debian Linux run the following commands in the Terminal app:
sudo apt update
sudo apt install -y curl
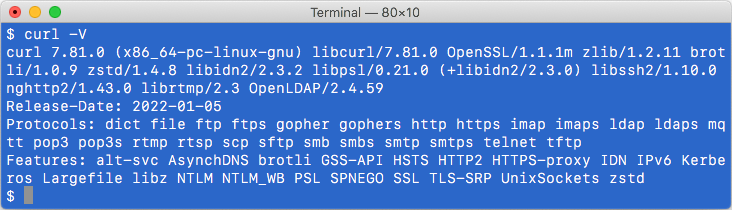
Assert that Curl supports the sftp protocol:
curl -V
Host keys
In SSH, host keys are used to protect against MITM attacks.
Start the Terminal app.
Enter:
mkdir -p -m 700 ~/.ssh
ssh-keyscan -H sftp.escrowsure.co.za >> ~/.ssh/known_hosts

Note
Failure to verify the SSH host key of the target server will yield an error.
Warning
In CI/CD scenarios we strongly recommend to pull the host keys from the appropriate Parameter Store or Secrets Manager.
Upload
Start the Terminal app.
Enter:
curl \
    --upload-file ~/source-code.zip.gpg \
    --user devops: \
    --key ~/.ssh/id_ed25519 \
    --retry 10 \
    sftp://sftp.escrowsure.co.za
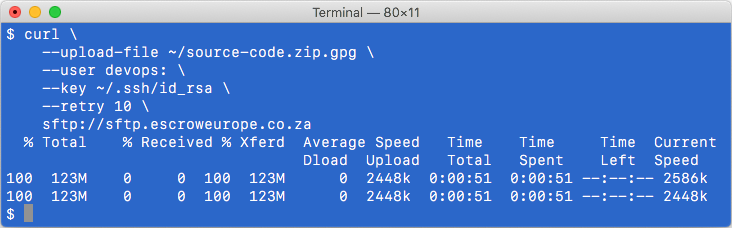
Note
Replace devops with your username and ~/source-code.zip.gpg with the file to upload.
Warning
To prevent logging of sensitive information (passwords!) always use public key authentication with Curl file uploads.
Public key authentication
SSH (the communications protocol used by SFTP) supports multiple authentication methods. ESCROWSURE provides the option to use password and/or public key authentication. Public key authentication is the more secure authentication method but is more complex to setup.
To use public key authentication you will have to generate a key pair, a public key and a private key.
-
The public key is registered with ESCROWSURE.
-
The private key remains on your local system. Protect this private key. Do not share it.
You can create a key pair with PuTTYgen or ssh-keygen.
Create key pair
PuTTYgen
PuTTY is a free implementation of SSH (Secure Shell) and Telnet for Windows and Unix platforms, along with an xterm terminal emulator.
Installation
Download the PuTTY MSI Windows Installer from https://www.putty.org.
Note
Installation is not required if you have WinSCP installed. You can start PuttyGen from C:\Program Files (x86)\WinSCP\PuTTY.
Generate key pair
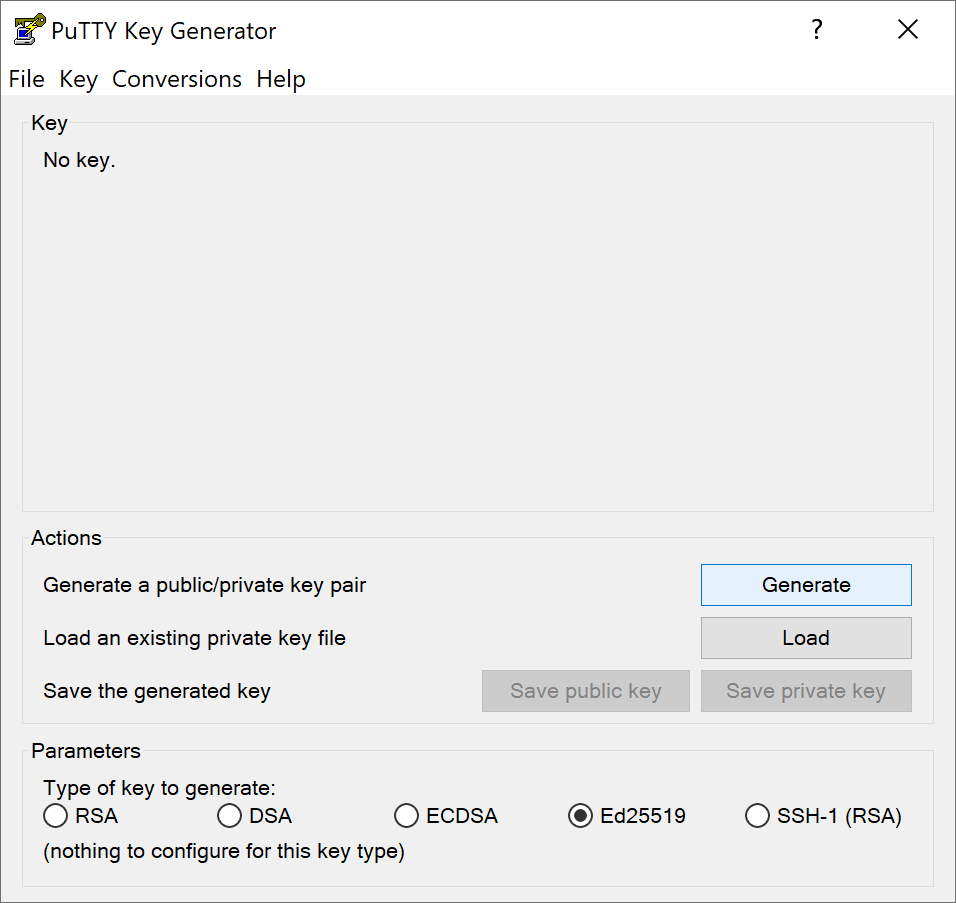
Start PuTTYgen from the Windows start menu.
In the Parameters section select Ed25519.
Enter 2048 in the Number of bits in generated key field.
Click Generate to create a new key pair.
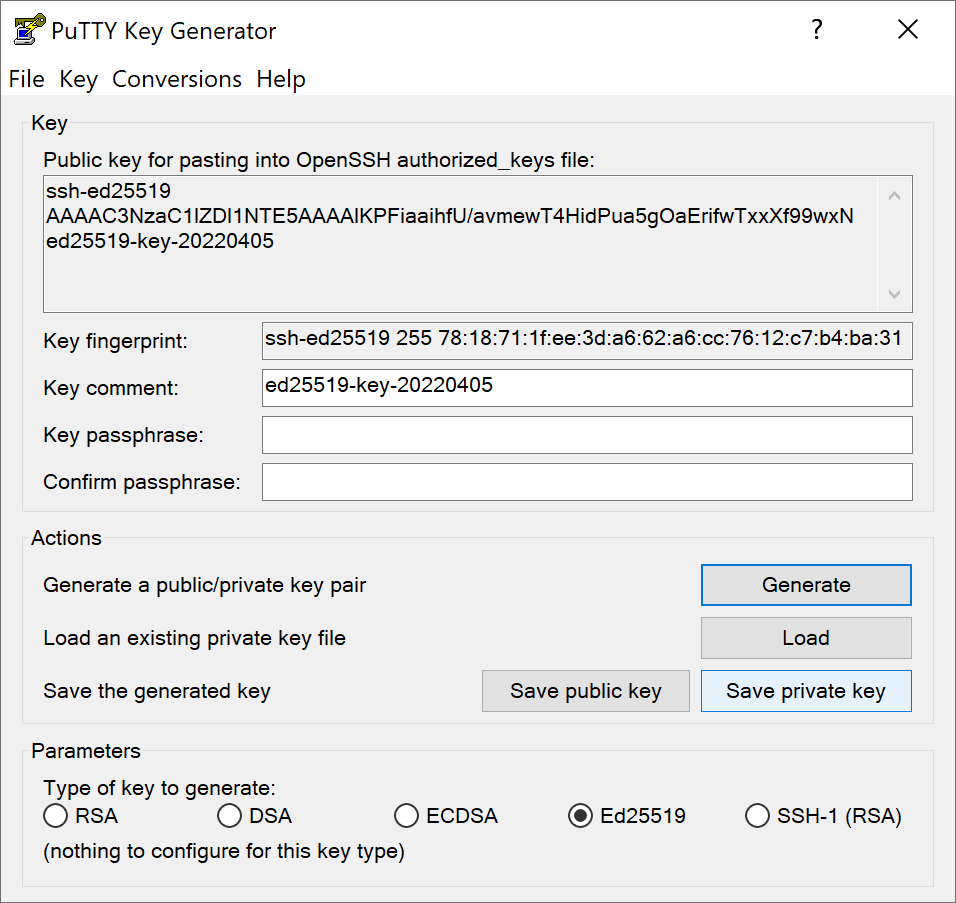
Move your mouse over the blank area until the progress bar is at 100%.

Save the generated key (public and private).
ssh-keygen
ssh-keygen generates, manages and converts authentication keys for Secure Shell (SSH). OpenSSH is the open-source version of the Secure Shell (SSH) tools used by administrators of Unix-like systems such as Linux for cross-platform management of remote systems.
Start the Windows Settings app.
Navigate to Apps > Apps and Features > Manage Optional Features.
Select Add a feature.
Locate OpenSSH Client.
Click on Install.
Return to Apps > Apps and Features > Manage Optional Features.
The OpenSSH Client should be listed.
Note
Installation is not required, OpenSSH and ssh-keygen are core components of Apple MacOS.
Note
Installation is probably not required, OpenSSH and ssh-keygen are core components of most Linux Distributions.
On Debian and Ubuntu execute the following terminal commands to install ssh-keygen:
sudo apt-get update
sudo apt-get install openssh-client
Generate key pair
Start the Command Prompt app.
Enter the command:
ssh-keygen -t ed25519
Press enter 3 times.
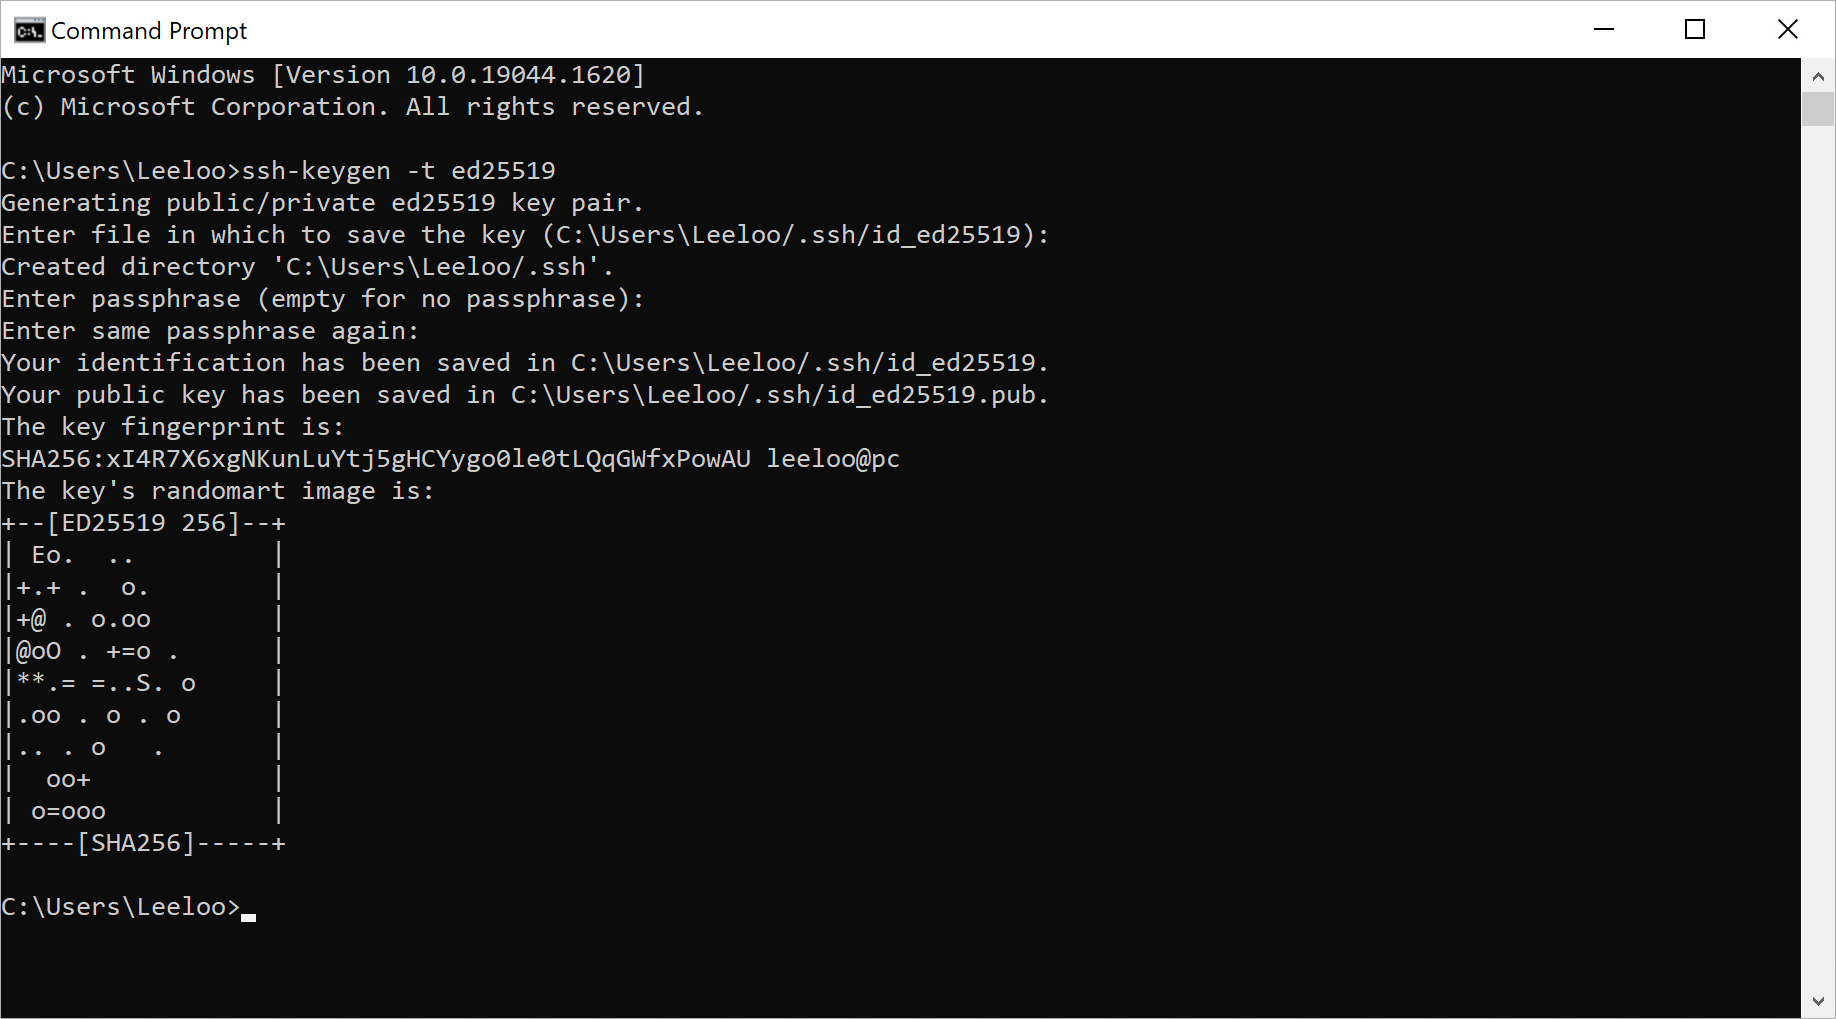
- %USERPROFILE%\.ssh\id_ed25519 contains the authentication identity
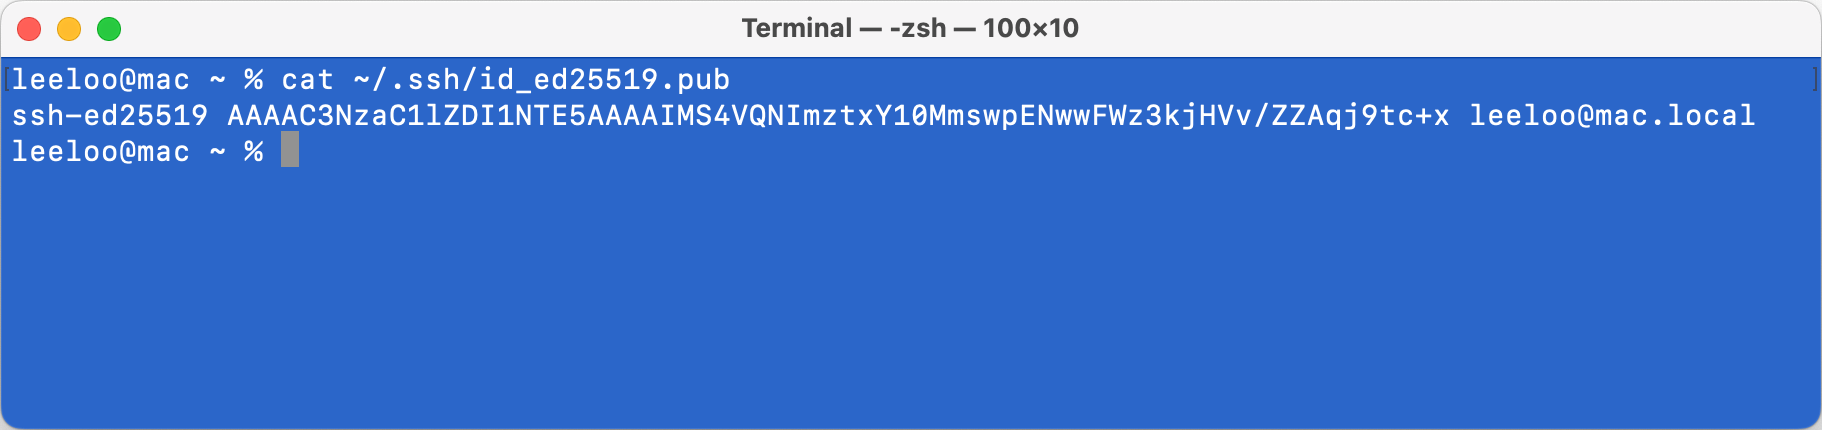
- %USERPROFILE%\.ssh\id_ed25519.pub contains the public key

Start the Terminal app.
Enter the command:
ssh-keygen -t ed25519
Press enter 3 times.
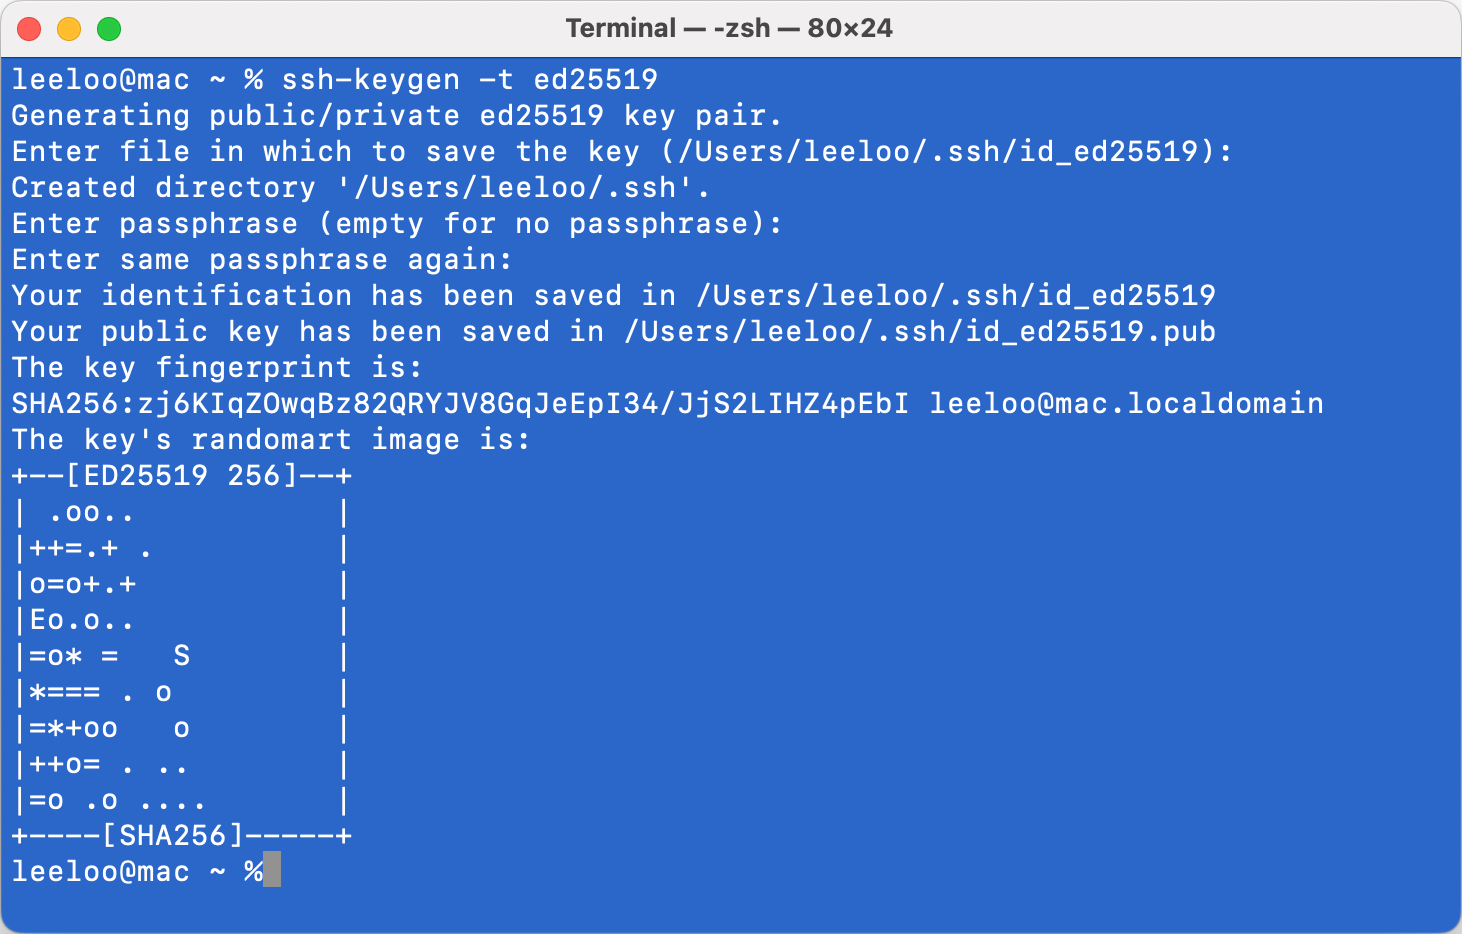
- ~/.ssh/id_ed25519 contains the authentication identity
- ~/.ssh/id_ed25519.pub contains the public key
Restrict access to the generated key pair:
chmod 700 ~/.ssh
chmod 600 ~/.ssh/id_ed25519
chmod 600 ~/.ssh/id_ed25519.pub
Usage
Rgister the public key on the Escrow Portal to enable public key authentication.
Please contact helpdesk@escrowsure.co.za if you do not have an Escrow Portal account.
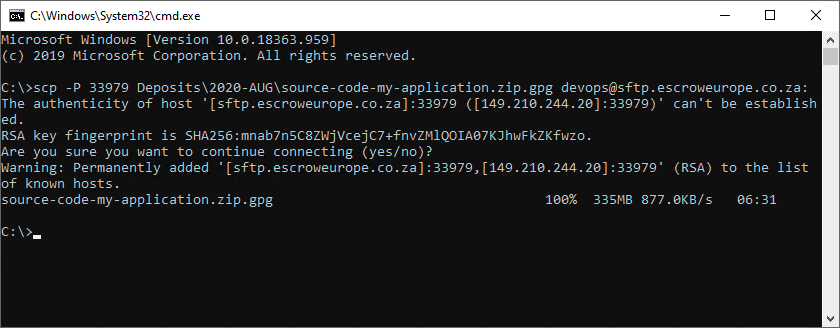
SCP
Open a Terminal/Command Prompt.
Enter:
scp {file} {username}@sftp.escrowsure.co.za:
(replace {file} with the file to upload and {username} with the username of your account)
WinSCP
Click on New Site.
In the File protocol field choose SFTP.
In the Host name field enter sftp.escrowsure.co.za.
In the User name field enter your SFTP username.
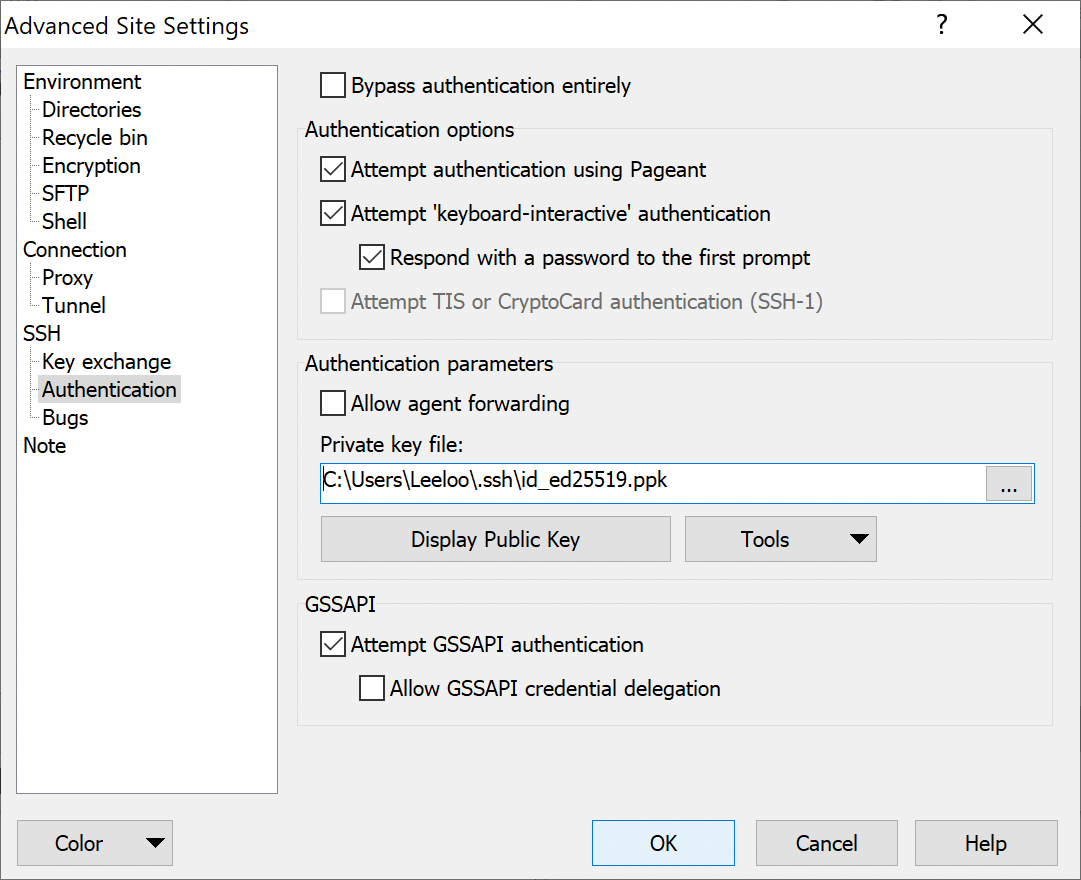
Click on Advanced.
In the category panel on the left click on SSH / Authentication.
In the Private key file field choose the private key file that you generated earlier with PuTTYgen.
Click on OK.
Click on Login.